【Active Directory】Windows Server 2019をインストールする (その2)
前回までの話しはこちらから
概要
Active Directoryを作成する機会があったので備忘録として残しておきます。
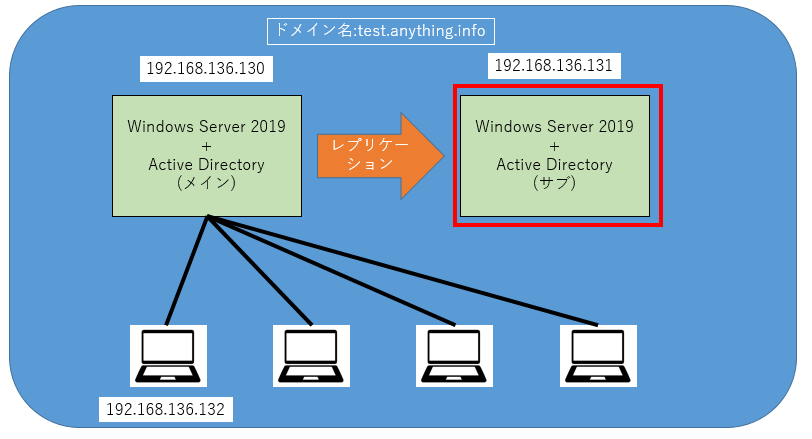
構築する環境としては以下です。今回構築する環境は赤枠で囲ったWindows Server 2019にActive DirectoryとDNSサーバを構築していきます。
前提
仮想環境にWindows Server 2019をインストールしています。
(MicrosoftからはActive Drictoryは物理環境に構築したほうが良いとされています)
サブのIPアドレスは適当にローカルIPアドレスを割り当てています。
Active Directory ドメインサービスをインストールする(マインと同じ)
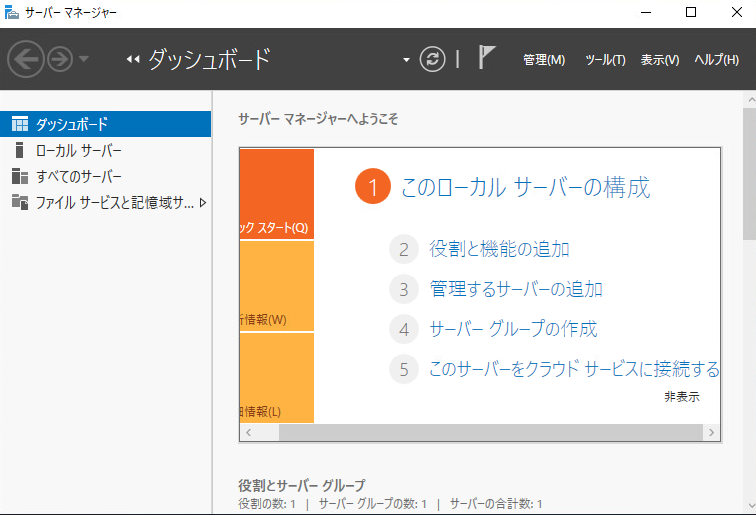
役割と機能の追加
サーバーマネージャーを開いて、[役割と機能の追加]をクリックします。
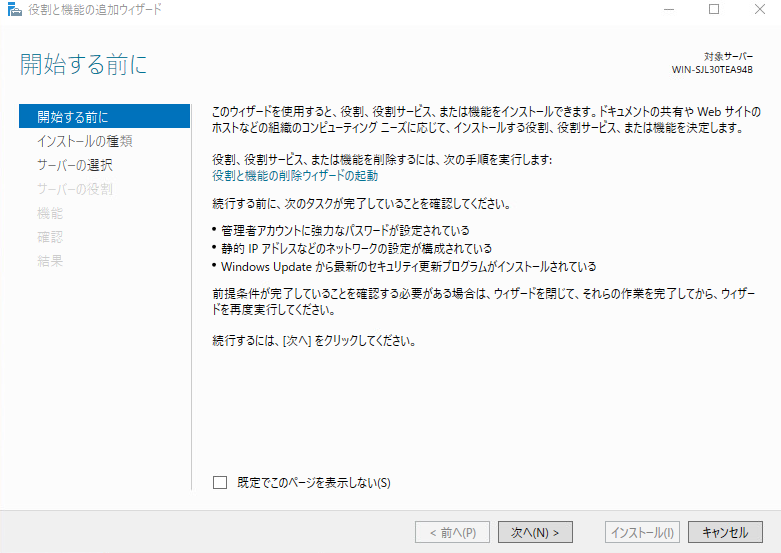
開始する前に
「役割と機能の追加ウィザード」が開きます。[次へ]をクリックします。
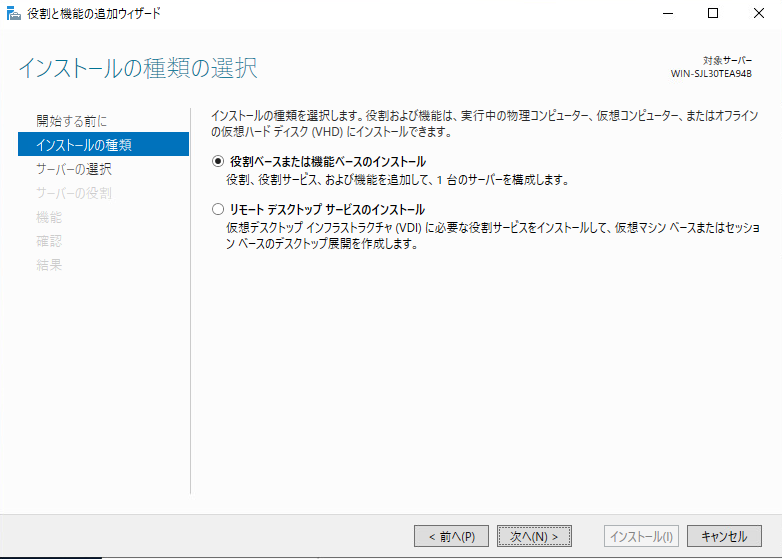
インストールの種類の選択
ADDSの役割をインストールしますので、「役割ベースまたは機能ベースのインストール」を選択します。
[次へ]をクリックします。
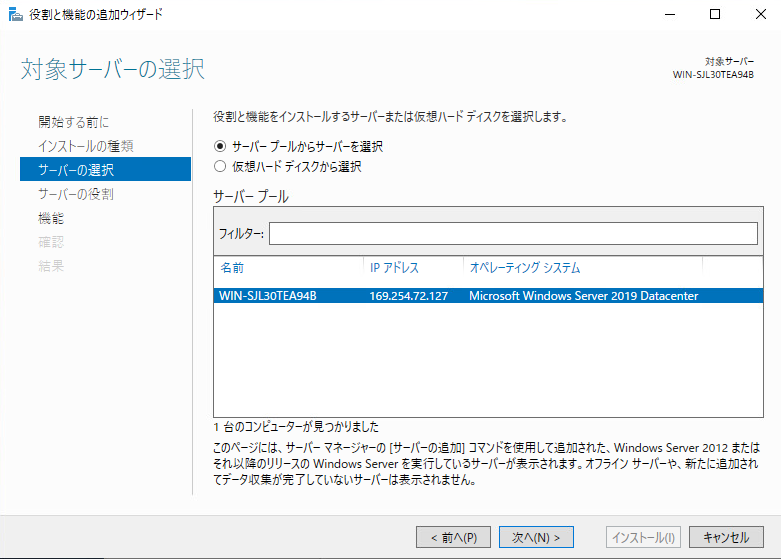
サーバの選択
インストール対象のサーバーを選択します。
[次へ]をクリックします。
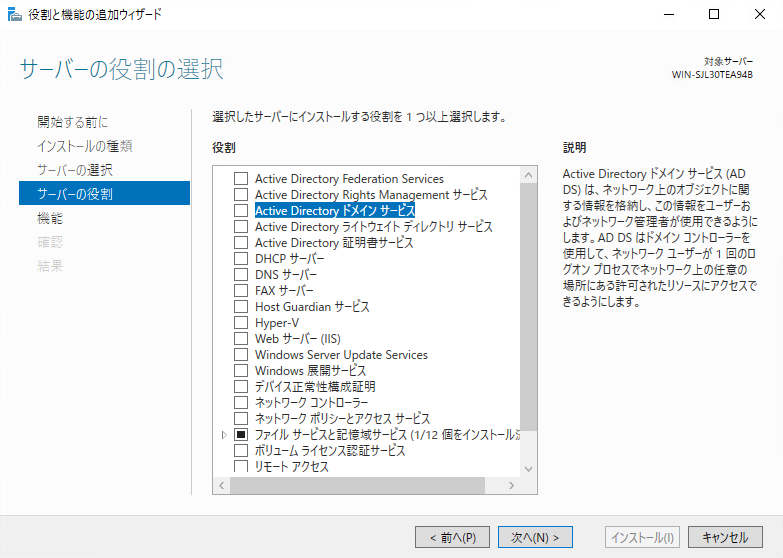
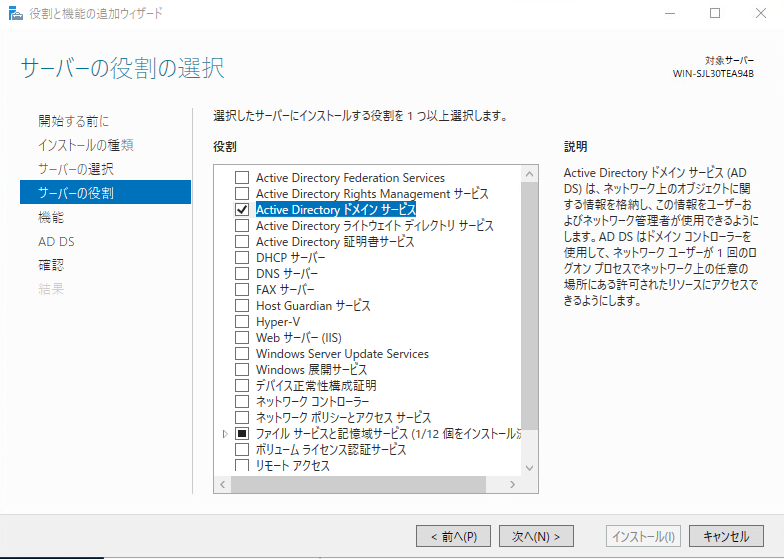
サーバーの役割
[Active Directory ドメイン サービス]にチェックを入れます。
機能の追加
確認のダイアログが表示されます。
[機能の追加]をクリックします。
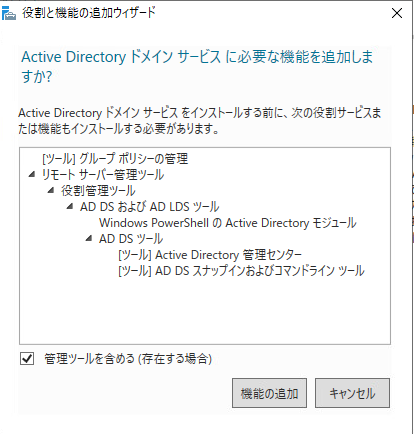
[次へ]をクリックします。
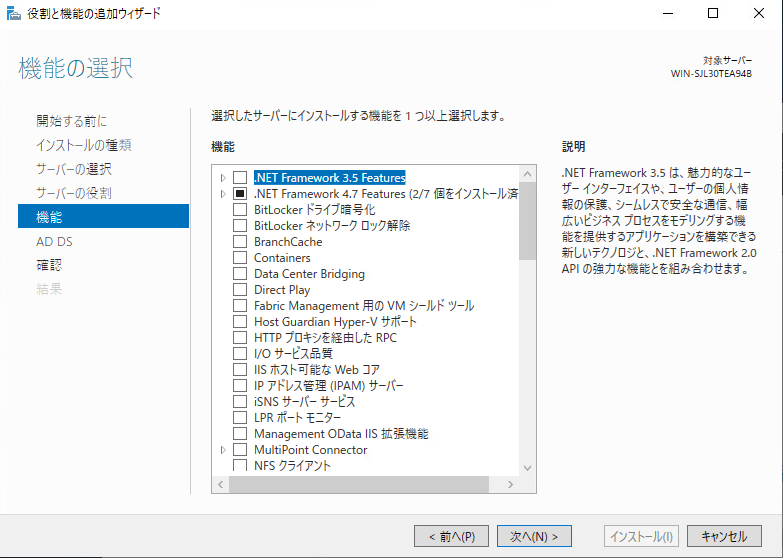
機能
「機能の選択」画面が表示されます。
[次へ]をクリックします。
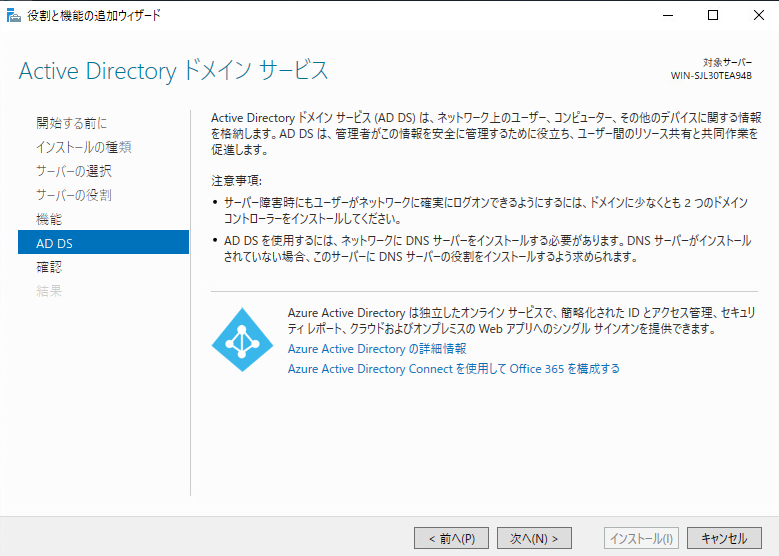
AD DS
「Active Directory ドメイン サービス」画面が表示されます。
[次へ]をクリックします。
確認
「インストールオプションの確認」画面が表示されます。
[インストール]をクリックして、Active Directoryドメインサービスのインストールを開始します。
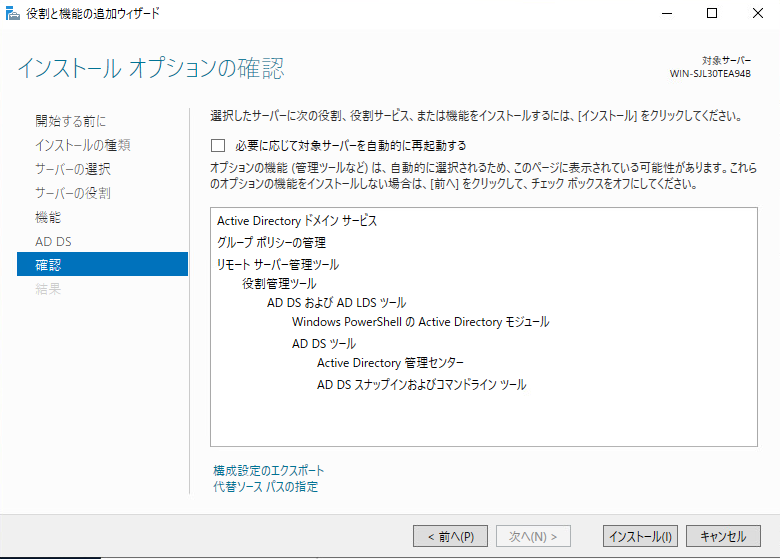
インストール後に再起動します
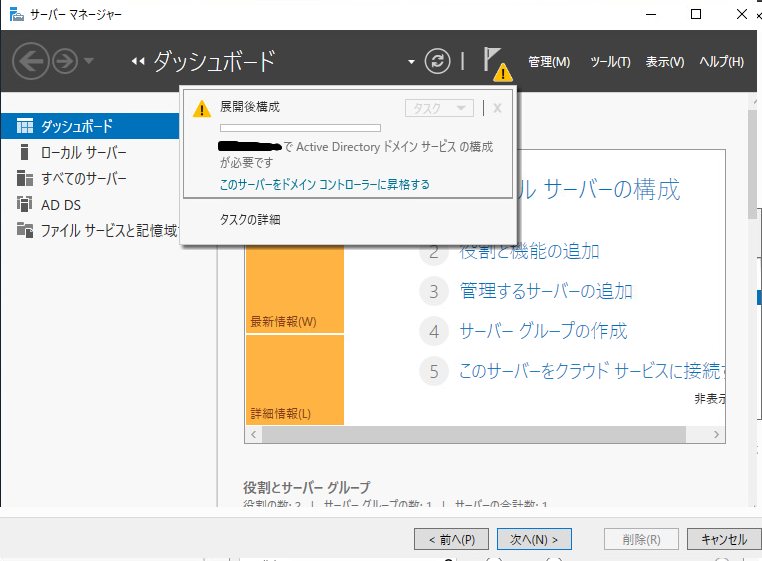
ドメインコントローラーの昇格
ドメインコントローラーに昇格する
サーバーマネージャーの通知アイコンをクリックします。
通知の中の[このサーバーをドメインコントローラーに昇格する]をクリックします。
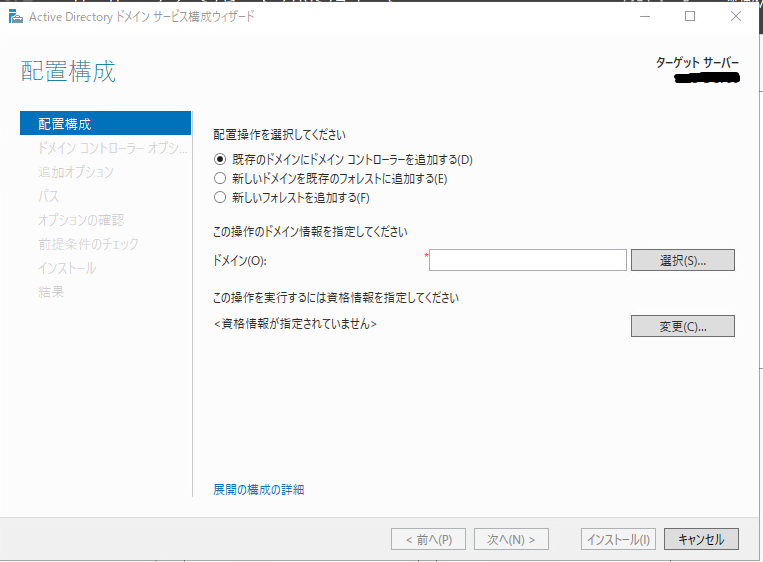
配置構成
Active Directory ドメイン サービス構成ウィザードが起動します。
「既存のドメインにドメイン コントローラーを追加する」を選択し、参加するドメインを「ドメイン」に入力します。
[変更]をクリックします。
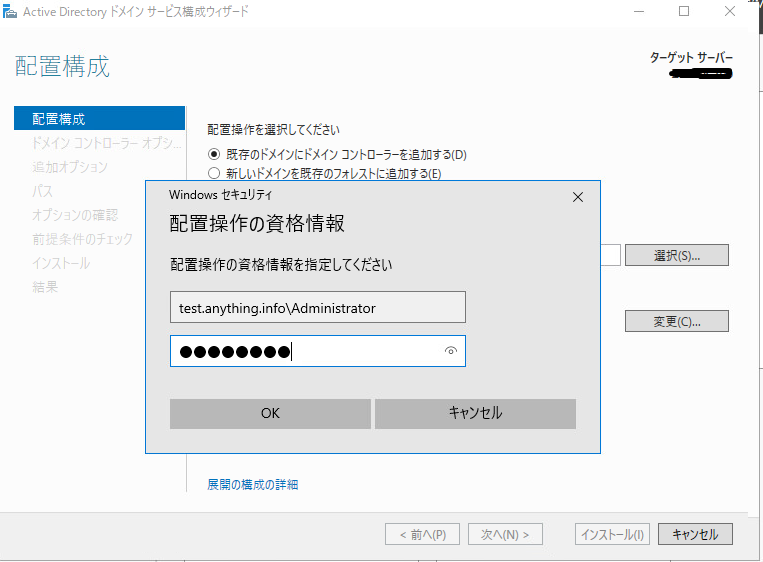
Windows セキュリティ
ドメインの管理者のIDとパスワードを指定します。
IDは「フルドメイン名\<管理者ID>」で指定します。
[OK]ボタンをクリックします。
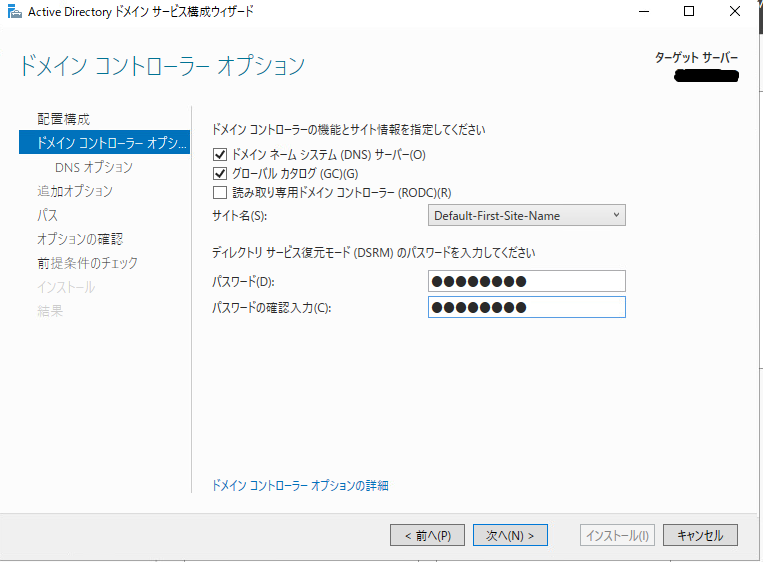
ドメイン コントローラー オプション
「ドメインネームシステム(DNS)サーバ」、「グローバル カタログ」にチェック(デフォルト)とします。ディレクトリサービス復元モードのパスワードとパスワードの確認入力を行います。
[次へ]をクリックします。
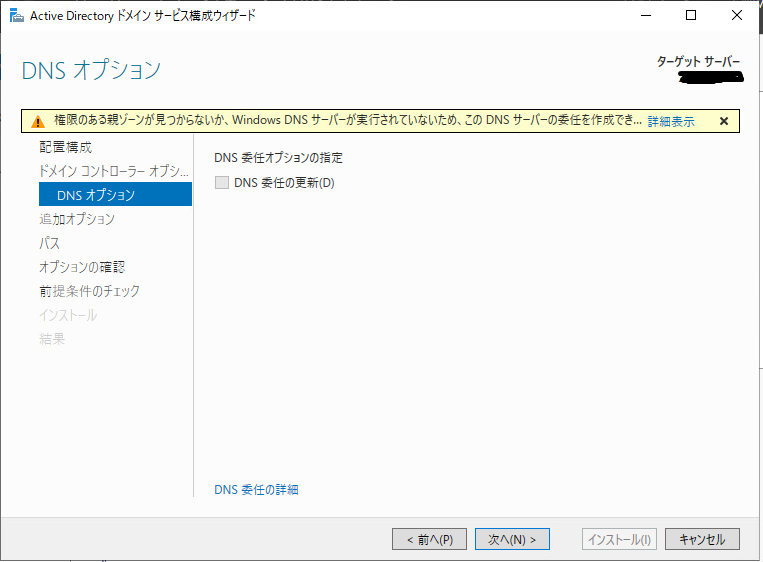
DNS オプション
特に選択することなく「次へ」を選択します。
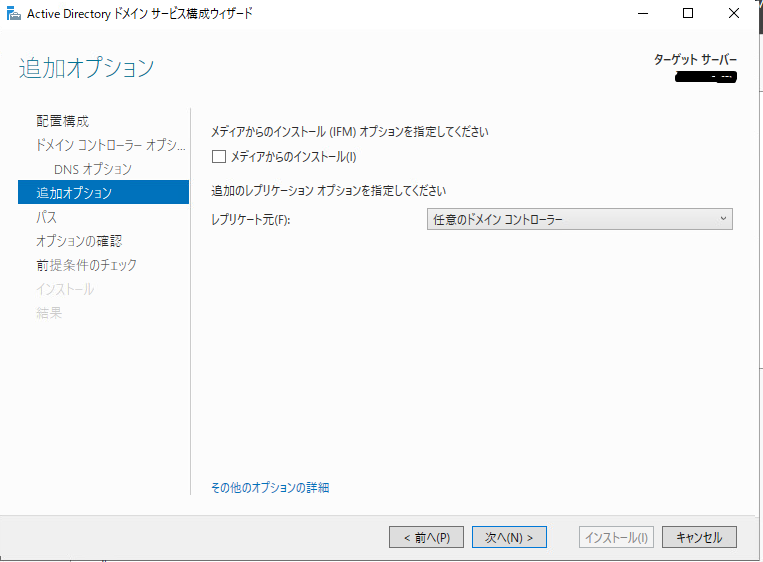
追加オプション
「任意のドメイン コントローラー」(デフォルト)を選択します。
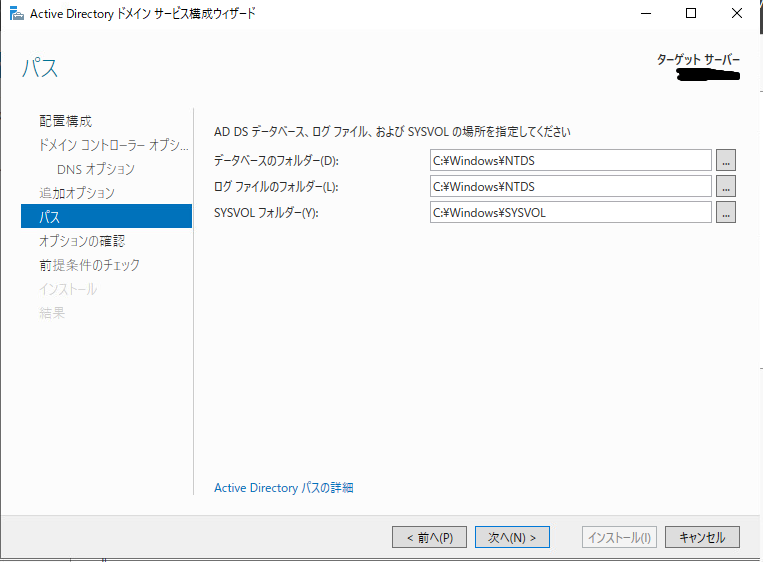
パス
特に変更なく「次に」を選択します。
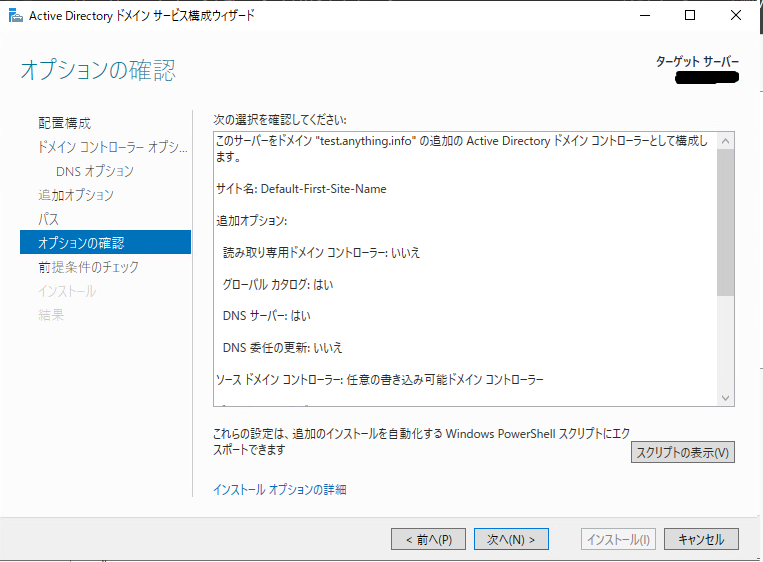
オプションの確認
「オプションの確認」が表示されます。
設定内容を確認して問題がなければ、[次へ]をクリックします。
前提条件のチェック
特に問題なければ「インストール」を選択します。

インストール完了後、サーバーの再起動が自動的に行われます。
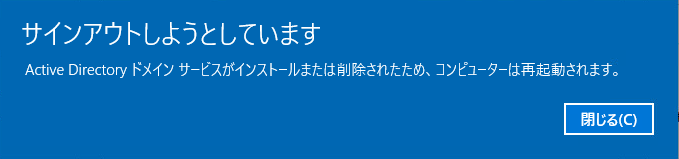
サーバーにログオンします
サービス マネージャー
サービス マネージャーを起動します。

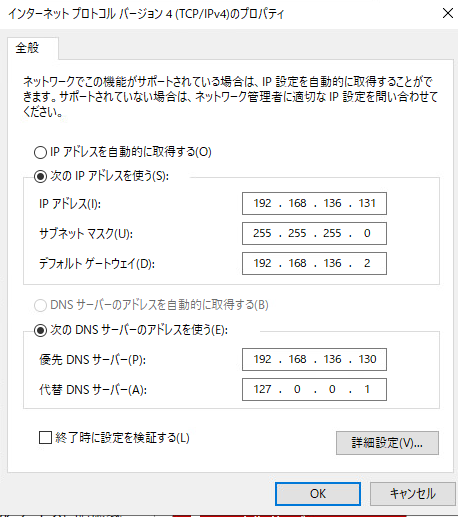
インターネットプロトコルを確認
代替DNSサーバーには自分自身が指定されています。
(DNSサービスも一緒にインストールされています)

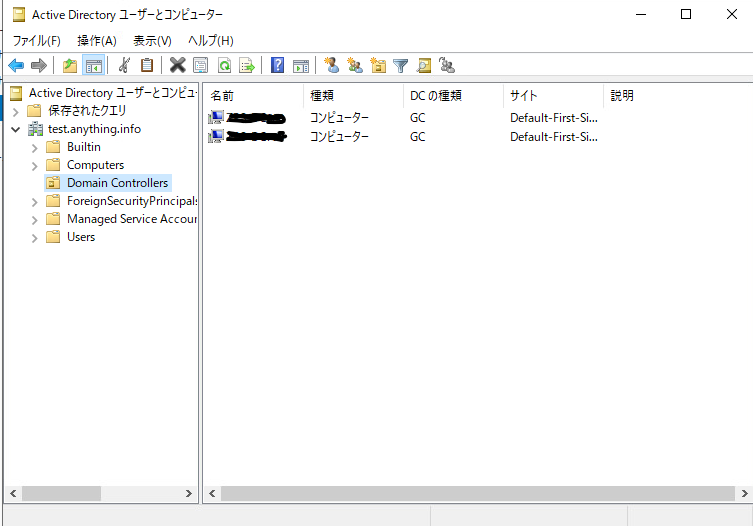
Active Directory ユーザーとコンピューター
Active DirectoryユーザーとコンピューターのDomain Controllersには2台のDCが表示されています。
-
前の記事
【Active Directory】Windows Server 2019をインストールする (その1) 2021.10.27
-
次の記事

【初心者向け】パブリックサブネットとプライベートサブネット 2021.11.01