【まとめて移行】複数のサーバーを集約!VMware vCenter Converter Standaloneの使い方!!
- 2021.02.20
- Vmware
- P2V, vmware, Vware vCenter Converter Starndalone, 仮想化

初めに
過去の記事でVware vCenter Converter Starndaloneの使用手順を記載しました。1台のServerから1台のVMware Serverに移行する際は特に問題ないと思います。しかし所有するServerが十数台あった場合、その1台1台にVware vCenter Converter StarndalonをインストールしてVMware Serverに移行しなければなりません。一つ一つタスクを確認しなければいなく手間が多くなります。
そこで今回の手順を使用すると複数台のServerを集約する際に一回のVware vCenter Converter Starndaloneのインストールで、複数台まとめてタスクを管理することができます。
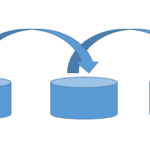
イメージ
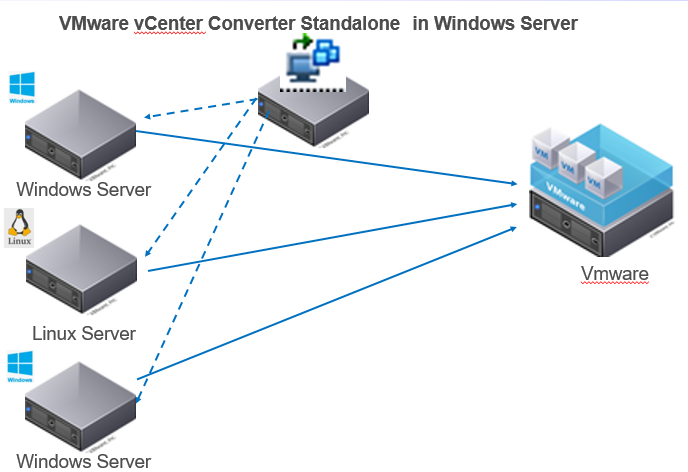
一つのServerにVMware vCenter Converter Standaloneをインストールし、各Serverにネットワーク経由でVmware Serverに対して複数台まとめてGuest OSの作成を行います。
手順
Vware vCenter Converter StarndaloneがインストールされているServerから複数のServerに対して移行作業を行います。
- VMware vCenter Converter Standaloneの入手
- Vmware Converter StandaloneのInstall
- Vmware Converter Standaloneの移行作業
1.VMware vCenter Converter Standaloneの入手
VMware社のDownLoadページからWindows OS 内にDLできます。
⇒https://my.vmware.com/group/vmware/downloads/info/slug/infrastructure_operations_management/vmware_vcenter_converter_standalone/6_2_0
DLにはVMware アカウントが必要になります。
無料なので登録しましょう。
2.Vmware vCenter Converter StandaloneのInstall
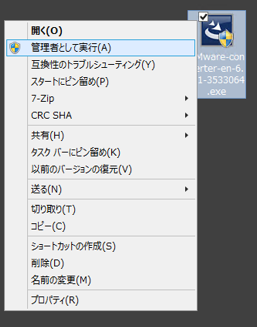
2.1取得したexeファイルを管理者として実行します。
実行後は基本そのままインストールします。(パスなどの変更ある場合は適宜お願いします)
インストールができない場合はこちらをご参照ください。
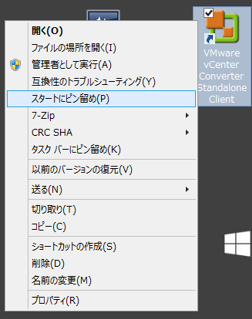
2.2インストール後、ショートカットが生成されるので管理者としてVmware vCenter Converter Standaloneを実行します。
3.Vmware vCenter Converter Standaloneを使った移行作業
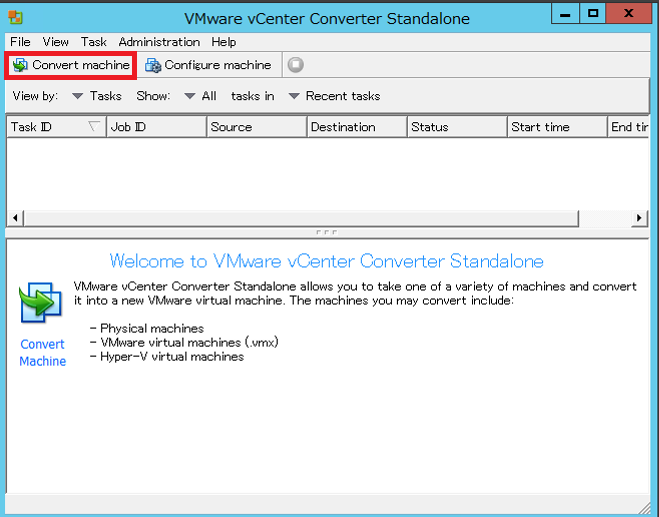
3.1 Vmware vCenter Converter Standaloneの画面が立ち上がってくるので”Converter machine“をクリックします。
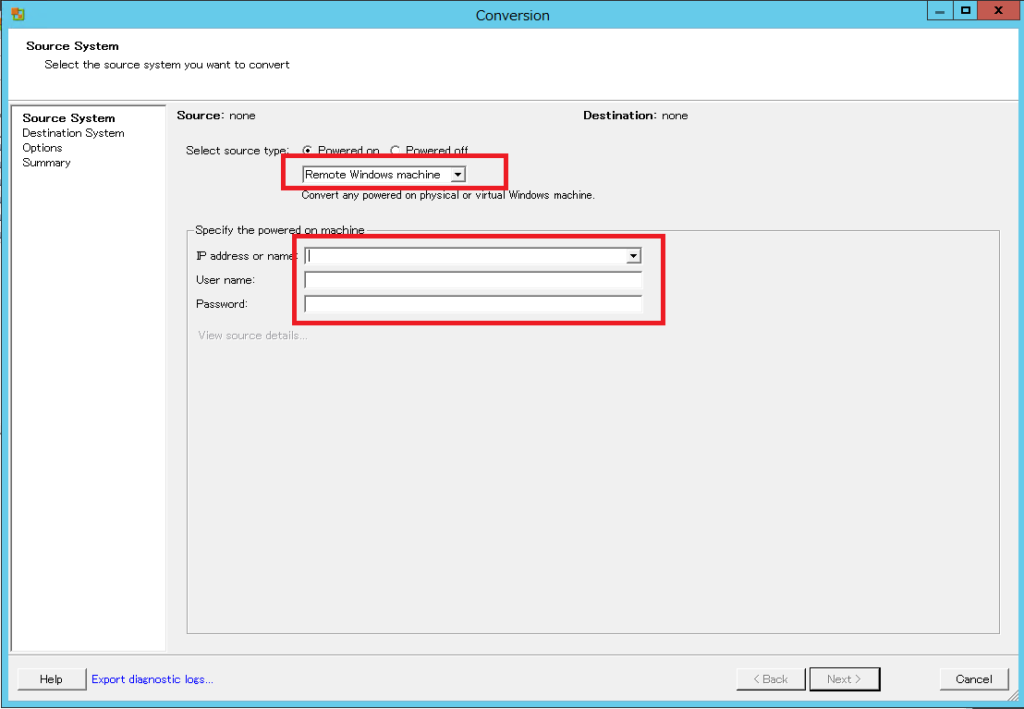
3.2 Conver画面が開き“Remote Windows machine“か”Remote Linux machine“の移動させたいOSの種類によってどちらかを選択します。
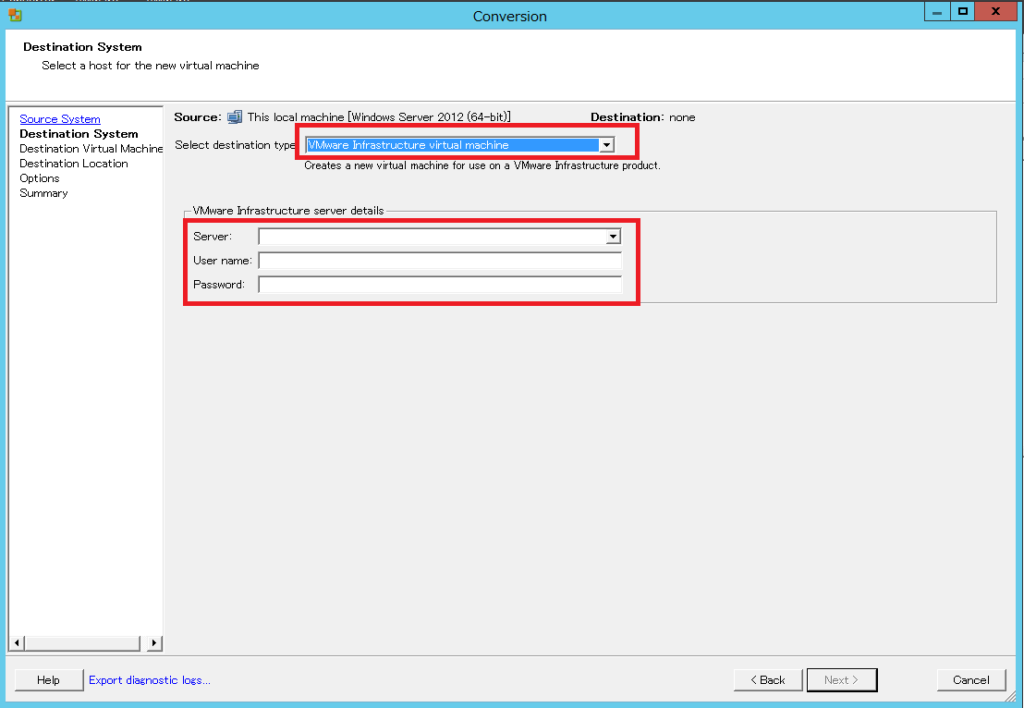
3.3 “Select destination type“を”VMware Infrastructure virual machine“に設定(Workstationなどを使用しているときは”Vmware Workstation or other VMware virtual match“を選択します)
設定後は移行したいVmware の”IPアドレス”と “User name”と”Password”を入力します。
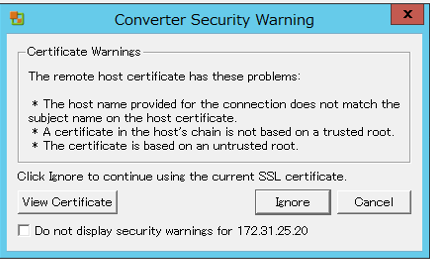
3.4 “Converter Security Warning“の画面が出てきますが”Ignore“を選択します。(SSLを使った通信を行いたい場合はSSLの証明書が必要となります)
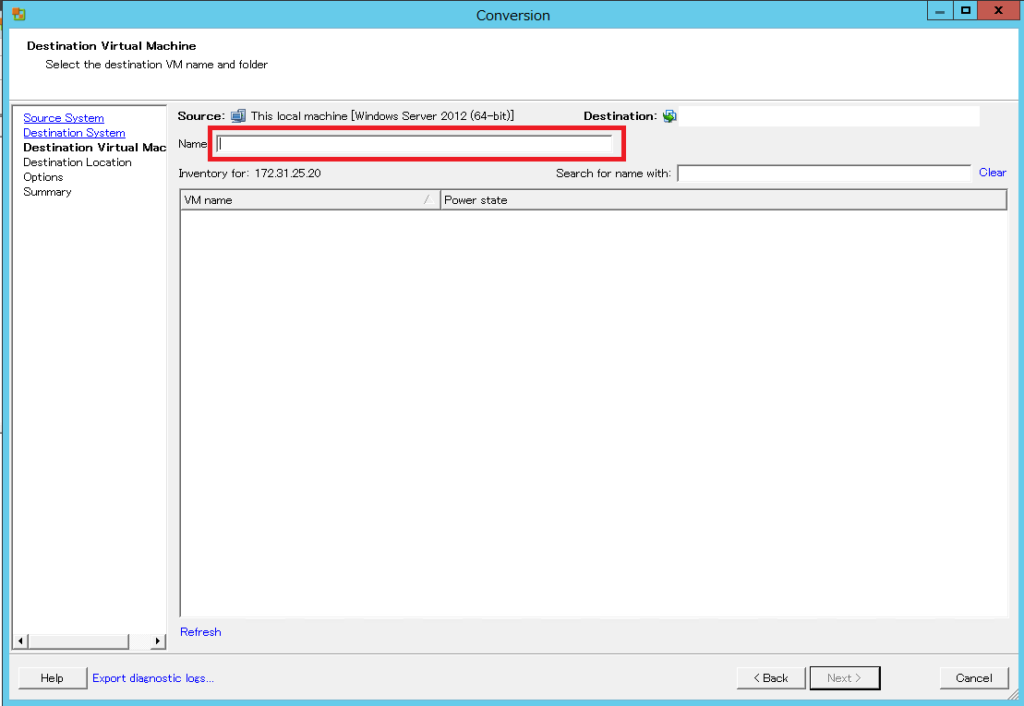
3.5 Guest OSのNameを入力します。
3.6 移Guest OSを保存する”Datastore”と”Virtul machine version”を選択します。

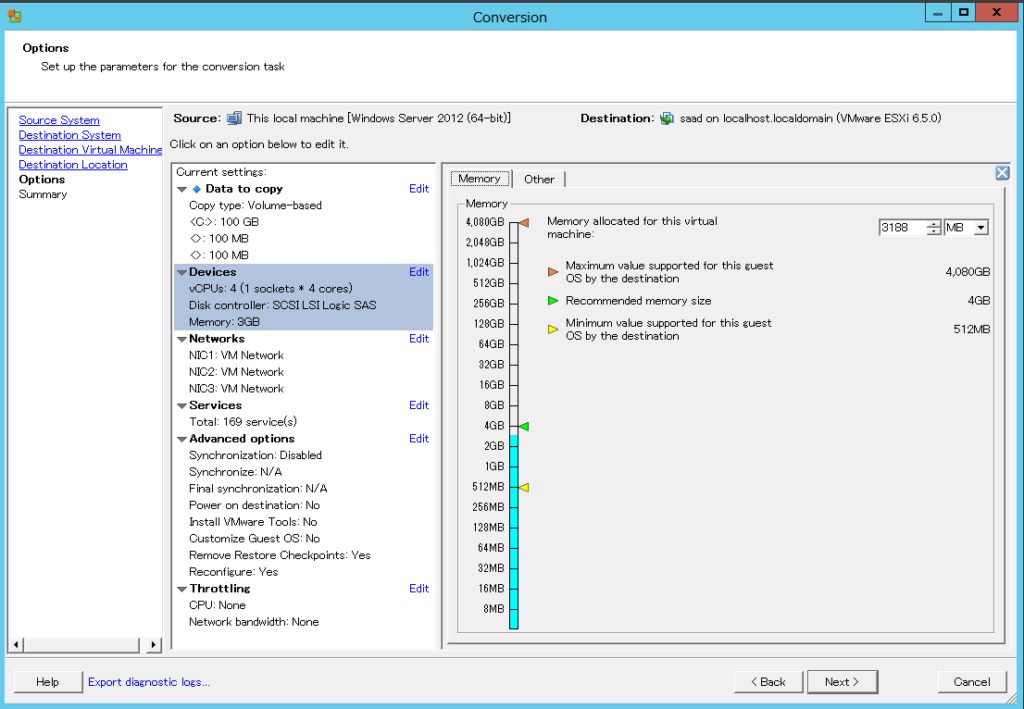
3.7 option画面で”DISK”、”CPU”、”メモリ”、”NIC”などの設定を行います。
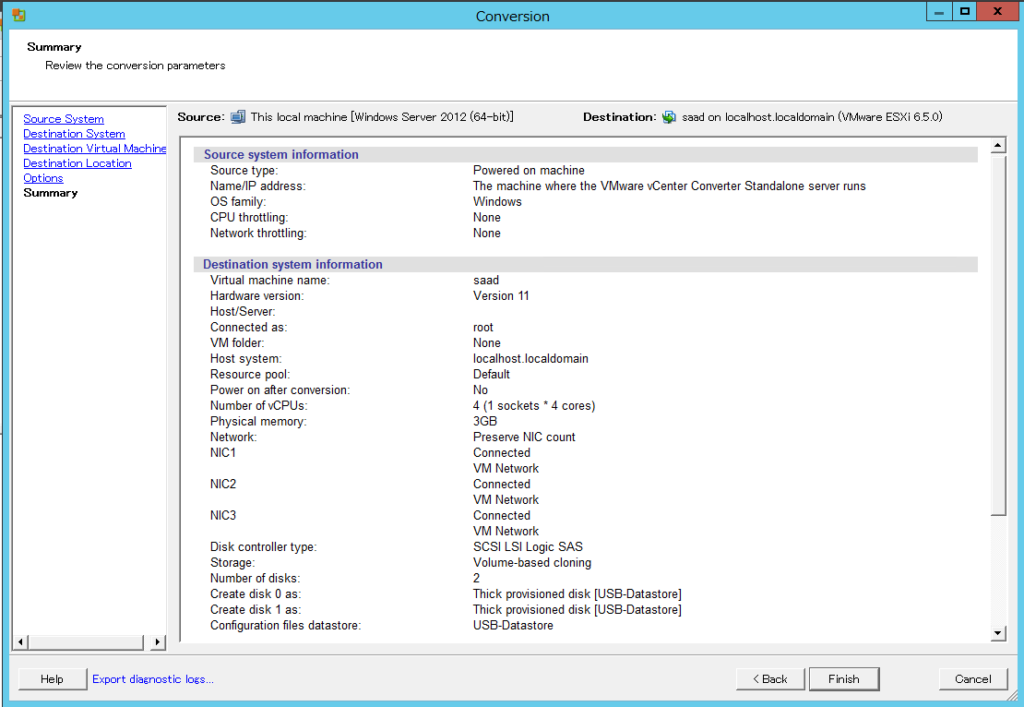
3.8 確認画面が出てくるので問題なければ”Finish”!!
3.9 続けてServerを行いたい場合は3.1の手順に戻って行います。
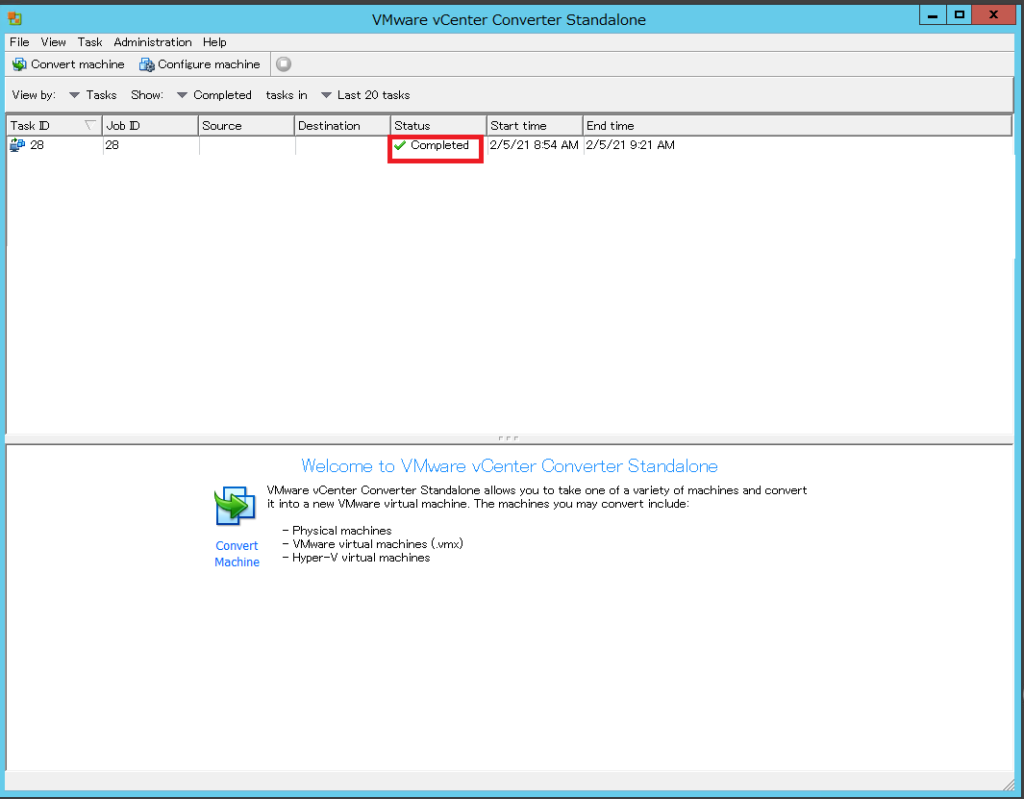
3.10それぞれのタスクが作成されるので”Status“が”Completed“になるまで待ちます。
3.11 移行先のVMware サーバ内にGuest OSが作成されているはずです。
3.12 Guest OSを立ち上げてみて使用できることを確認してみてください。
Guest OSが立ち上がらない場合は下記参考ください。
注意点
・移行するServerは起動していてIPアドレスなどが設定されている想定です。
・移行するServerのFirewallなどのセキュリティ関係はオフにするか、Vware vCenter Converter StarndaloneがインストールされているServerを許可するなどの対応が必要となります。
-
前の記事

【手順】Windows Server 2012R2 を Upgradeする方法 2021.02.19
-
次の記事
コピペとカットペでハマった話 2021.02.22